I happen to be the lucky and proud owner of one of these.
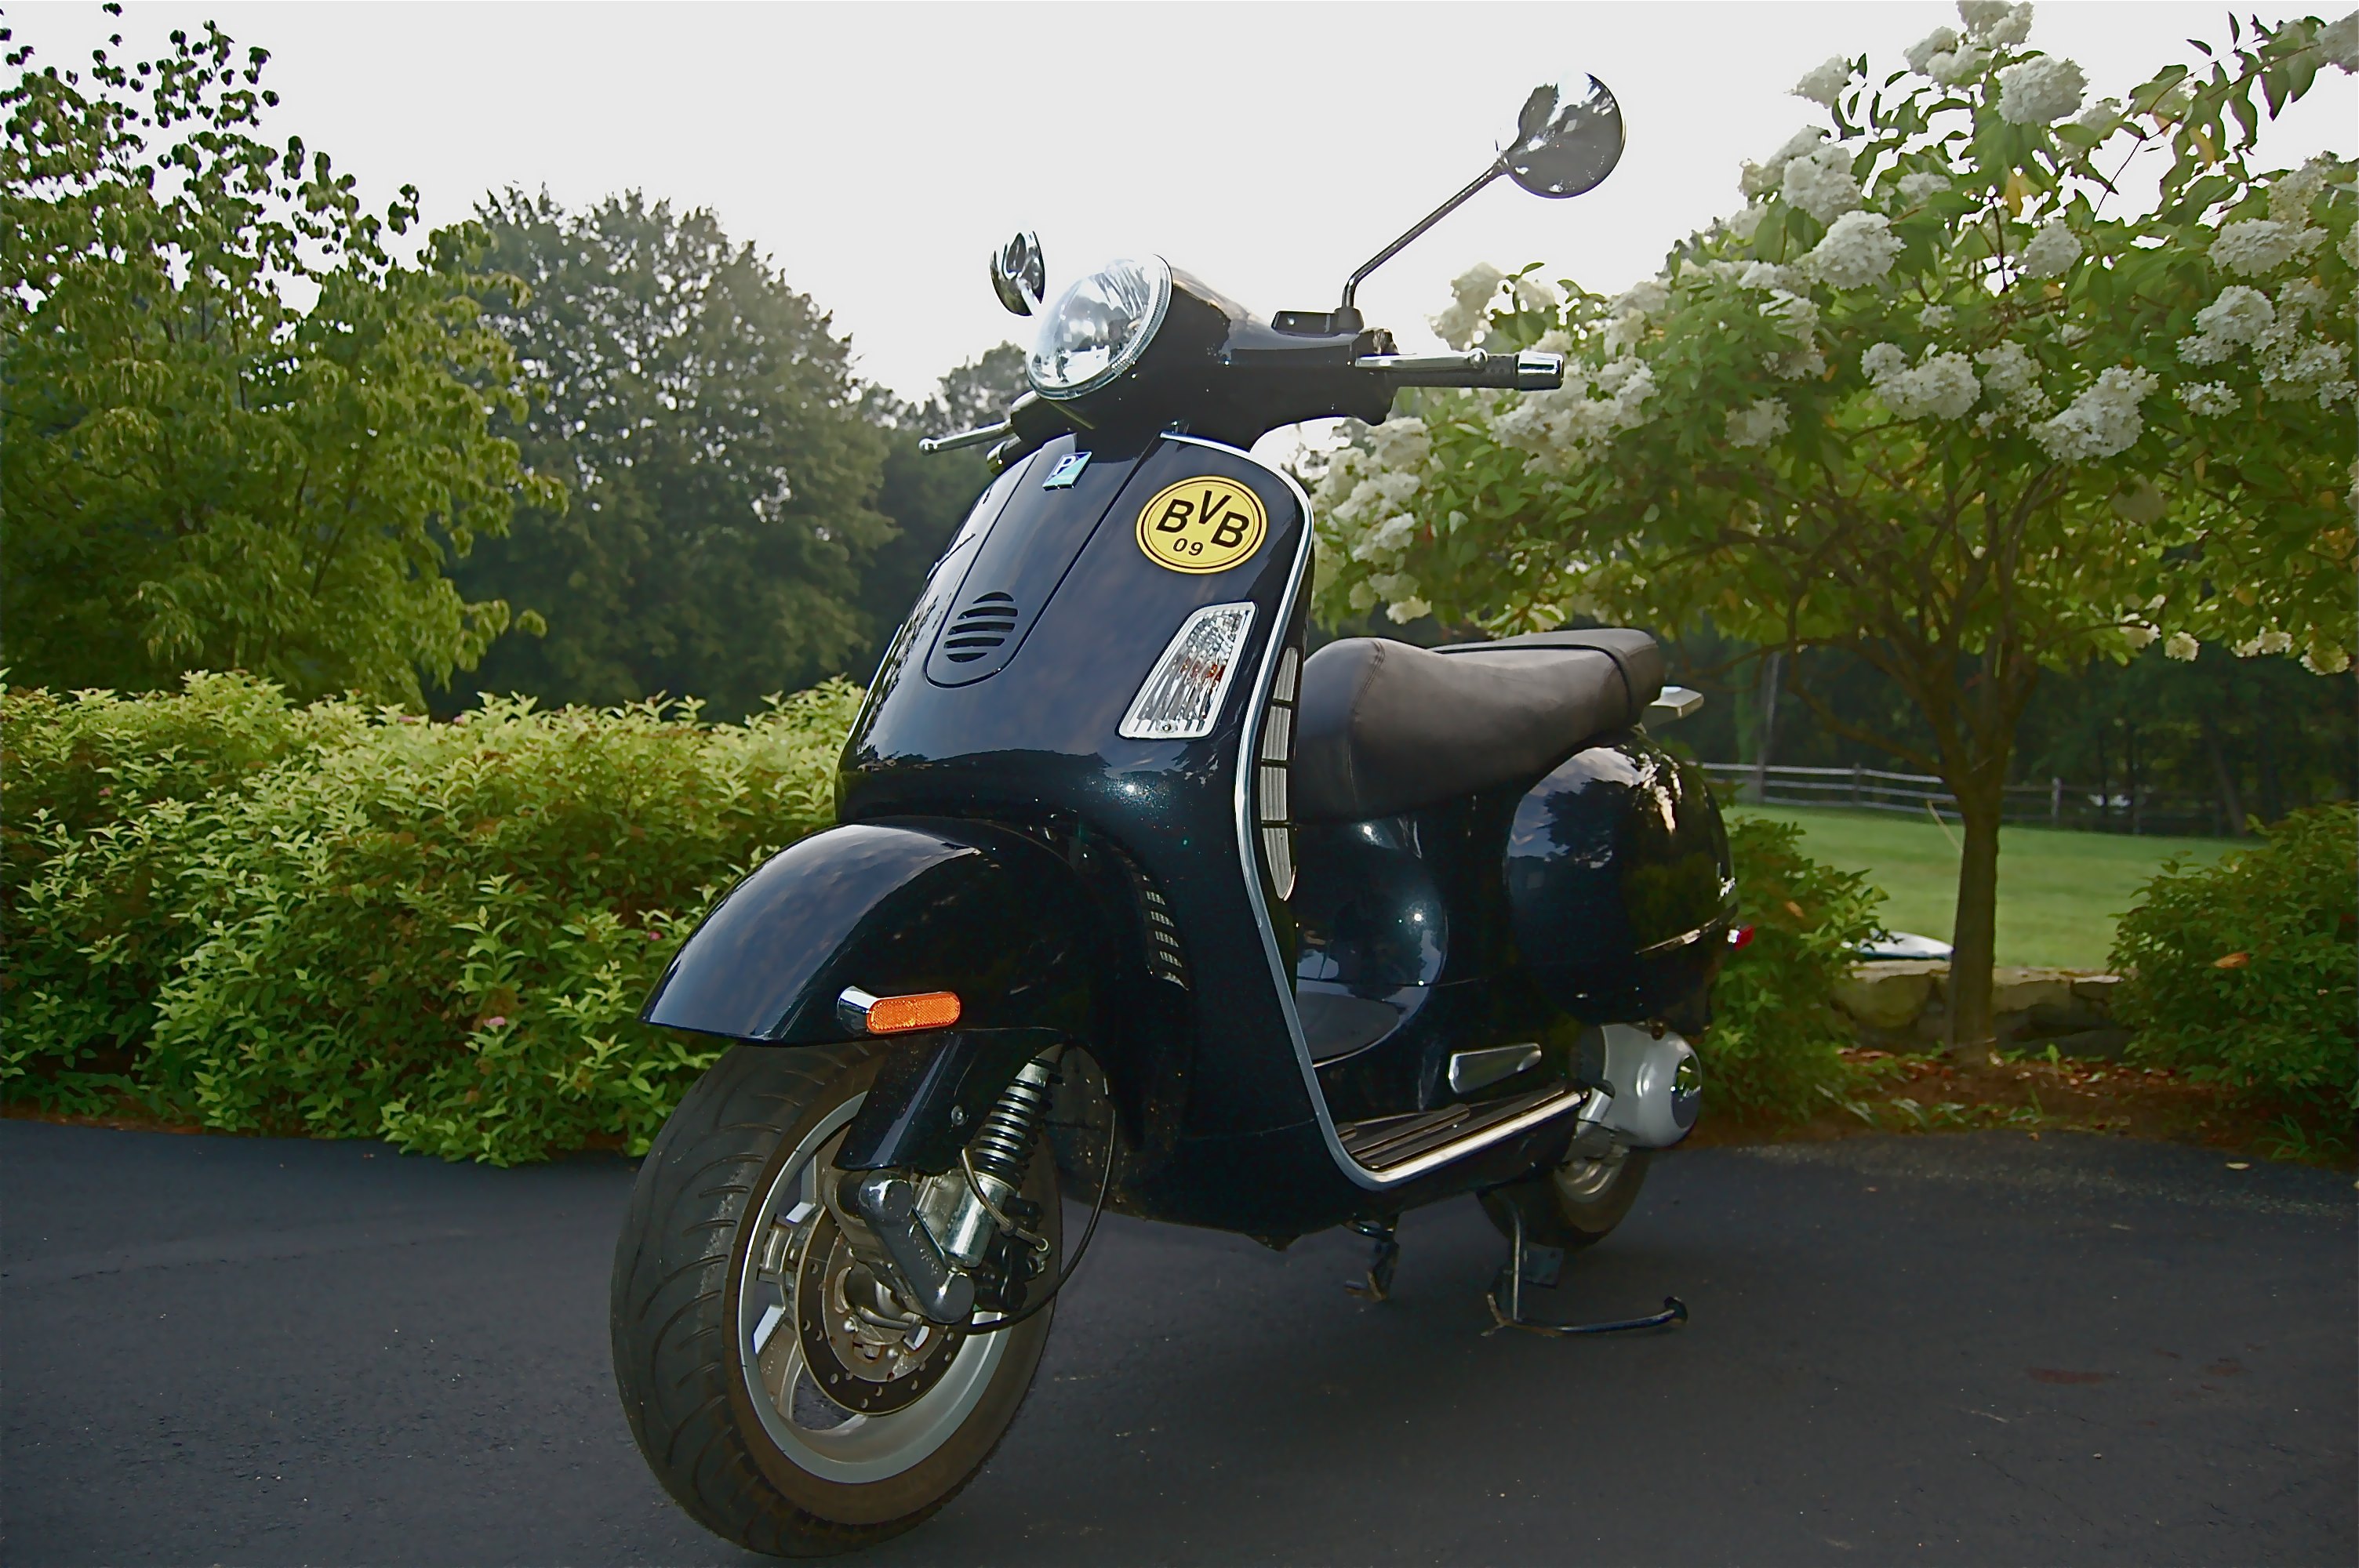
It’s a 2006 Vespa GT200 Granturismo. King of the Modern Vespas. Not as chunk-style and up-powered as the GTS 250 or GTS 300, but still as smooth as Italian-churned butter and amply quick. Also, not as fey-looking or anemic as the LX. The Granturismo looks every bit the classic, iconic Vespa , but with (generally) modern engineering and performance (with the notable exception of the digital dash-clock battery placement, which borders on the absurd).
Still, KOTMVs, IMHO.
(And in case you’re wondering, that’s a yellow Ballspielverein Borussia sticker. Not because I support Dortmund/Borussia, or am even a soccer fan. I just SO dig the logo, and it reminds me of GBV, as in Guided by Voices, as in the “Greatest Band eVer.” So I’ve chosen it to grace my legshield, and flavorize my front end. But I digress…)
So if you’re lucky enough to have a GT200 (or any Vespa, for that matter), and you drive it like I do—frequently and floggingly—then you might want to think about changing your oil every now and then. Obviously, you can choose to pay someone to do this for you at one of the rapidly-disappearing Piaggio/Vespa dealers across the country. (Why scootering has never really caught on in the US, and continues to flail even as gas prices rise, I’ll never really understand._
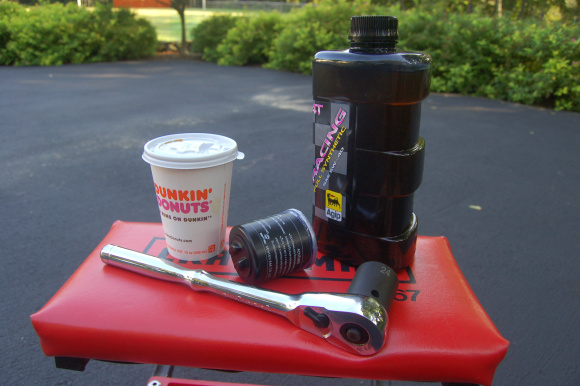
But if your local Vespa dealer has folded up its tent (mine has), you ought to order an oil filter online, pick up two liters of Agip 5W40 synthetic motor oil (your scoot takes 1.3 liters, so you’ll need a pair of bottles), a cup’o’Dunkins, and do it yourself. It’s not rocket science. It’s not even scooter science. You kin do it!

Here’s how…
STEP 1
Find yourself a nice wall to lean against, and a nice blanket to protect your baby. Here, I’m just leaning my GT agains the garage door divider. You need a leaning spot (and not the center stand) because when you drain the old oil, you’ll need to be able to tip your scoot sideways, to fully empty the oil out.
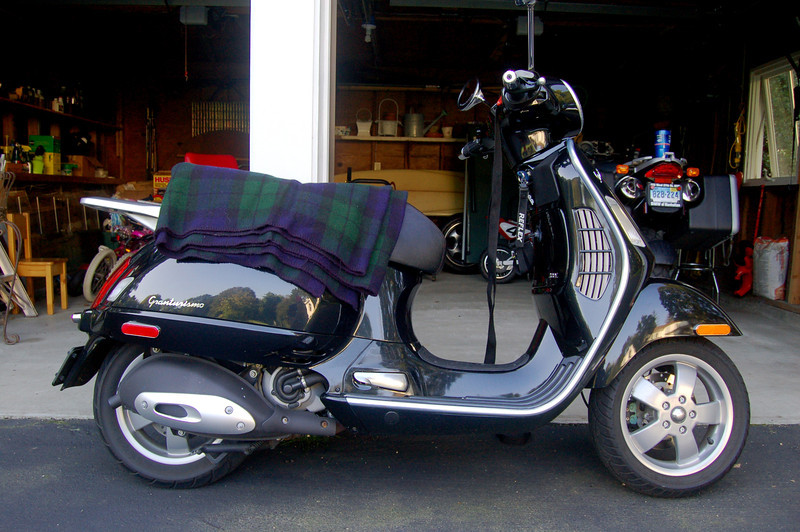
Here she is, snug as a bug in a black-watch rug.

STEP 2
So while you’re leaning or tipping, you don’t want your scoot scooting away from you with oil drizzling out of its underside. You want it rock steady. So you’ll want to “lock” your brakes. I achieved this using nylon webbing carry straps, the sort which are usually used for cinching a surfboard (or anything else) to a car’s roof-rack. Here’s the right brake…

And the left. Dual-immobilized now.

STEP 3
Now to get a little grimy. Locate the oil filter and oil drain plug on the underside of the right side of the bike.
NOTE! If you’ve driven the bike around beforehand to get the oil warm and flow-y, as you should, be extra careful around the muffler and exhaust manifold, which will sear your hand like a hand-burger on a Weber kettle. Trust me. I know.
A wide view to the drain plug…

And here it is, closer up.

STEP 4
Now you’re getting read to drain. You’ll need a 24 mm socket and socket wrench to remove the drain plug. The oil filter (on mine, at least) was on “hand tight,” and only required a rubber glove to loosen and remove it. You’ll also need a receptacle low enough to fit under your engine and wide enough to accommodate 1.3 liters of oil.
This was my sophisticated oil change set up:

A rice milk carton, cut down to fit juuussst under the the lip of the oil drain plug, an aluminum brownie overflow drippings pan, and a plastic serving plate left over from a deli-platter, just in case.
Place this setup underneath your scoot, positioned next to (and underneath) the plug & filter. Remove the oil drain plug and its rubber o-ring gasket (don’t lose it!) to start the flowage. Next, remove the oil filter. Mine unscrewed by hand.

STEP 5
Through the magic of gravity and lubriciousness, most of the oil will find its way our of your scoot and into the rice milk carton/oil drain pan. But to help ensure that every last drop comes out, remove this (to prevent any “vacuum effect”)…

And tilt the bike to its right to help the last drops flow out.
You’ll also want to stick your finger into the threaded oil plug hole, to extract this…

This little mesh screen—and your magnetic oil drain plug—serve as one part of your oil filtering system, capturing miniscule metallic flecks of piston and cylinder wear and other circulating gunk. Be sure to clean them off before re-installing.
STEP 6
Reassembly time.

New GT200 oil filter? Check.
Rubber o-ring oil plug gasket? Check.
Cleaned, de-flecked oil plug? Check.
Cleaned, de-flecked oil plug screen? Check.
Nurse, please generously finger-oil the gasket on the oil filter. Thank you.
Now gently massage the rubber oil-plug o-ring gasket, too. Good.
Now, re-insert the oil plug screen before hand-screwing-on the oil plug. Make sure that the rubber gasket stays seated and unpinched.
Tighten with 24 mm socket.
Next, screw on your new oil-filer. I went about a 1/4 turn past hand-tight.
Now you’re ready to lubricate.
STEP 7
The place on the left side of your scooter where the oil dipstick is? That’s where you fill your engine with oil. With the dipstick out…

And a funnel into the oil-filler spout…

Add the first liter of oil…

Then a bit of the second. The scoot takes 1.3 liters, so you’ll need to add and check, add and check, using your dipstick until you achieve fullness, the middle of the cross-hatched lines on your dip stick.
When you’re full-up (and not over-filled!) with fresh 5W40, start the engine, warm her up, power down to double-check the oil level, inspect for any drips and leaks…

And you’re done, dude! Or dudess! Don’t forget to take the used oil to a garage for proper disposal—your local friendly service station will usually receive it without a hassle. Voila! You’re scooting again!
